
There are tons of ways the digital tries to emulate the look of film — and often some options do it much better than others. No one, I think, will ever really be able to get the look of Cinestill film straight out of the camera. We all know that it’s impossible with digital unless you do a lot of post-production. But I never expected someone to get the look of Kodacolor 200 this soon after the film’s release. However, if you own a Panasonic LUMIX camera, then you can do it pretty easily using the Real Time LUT feature.
This is something that I really love about the Panasonic LUMIX community — they’re often more inventive on the way things look than Fujifilm’s community is. In this case, you should head over to the website of Ross and his JPEGs. There you’ll find a tutorial all about stacking LUTs to get the specific look of Kodacolor 200.
Typically, I hate the idea of stacking LUTS. But in this case, there really is no other way to do it — and sometimes the end result is more important than the journey. I say this, because setting everything up is a bit of a pain. Here the recipe:
Kodacolor 200
[by rossandhisjpegs]
- Photo Style: Vivid
- Contrast: -5
- Highlights: 0
- Shadows: -4
- Saturation: -0.5
- Hue: 0
- Grain: STD.
- Color Noise: OFF
- Sharpness: -5
- NR: -5
- i.Dynamic Range: LOW
- White Balance: AWB (A:7)
- LUT 1: Summer by rossandhisjpegs
- LUT 1 Opacity: 50%
- LUT 2: Daisy by rossandhisjpegs
- LUT 2 Opacity: 60%
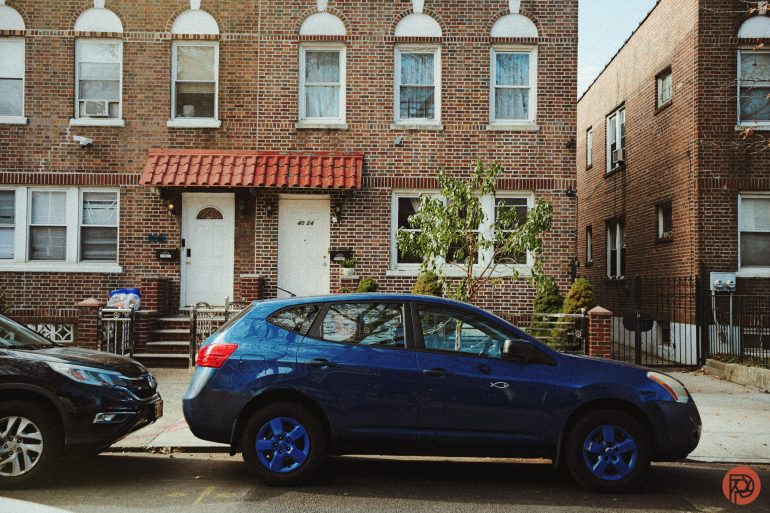
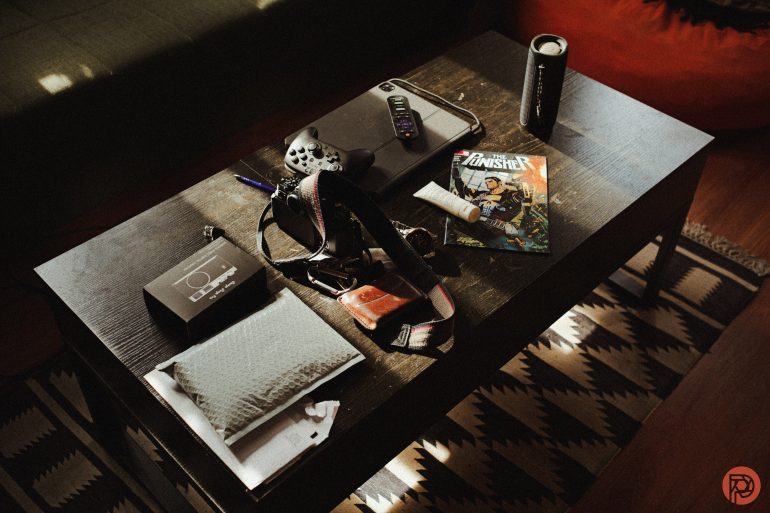
Trust me when I say that I don’t want to bother shooting in RAW with this LUT. Those tend to make for my favorite kinds of shoots to be honest with you. I loaded this setup on my LUMIX S9 with the TTArtisan 40mm f2. At first, the images looked nice but I really wasn’t convinced. So I went through the LUT settings to ensure that everything saved correctly. I then made the necessary adjustments according to Ross’s recipe, and the images came out insanely pleasing.
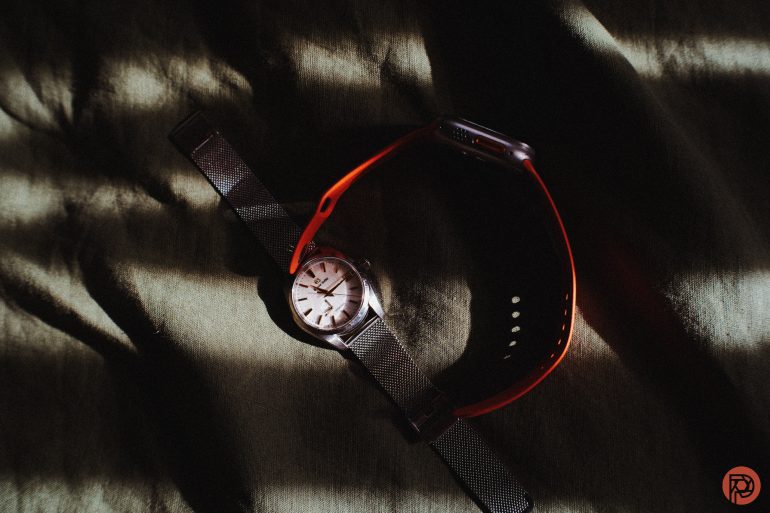
Ross, with this Kodacolor 200 recipe, nailed the look perfectly. I’d argue that to really get said look, shoot at ISO 200 or overexpose by a stop or so to get the actual film look and process. This will mean that even if you’re in low light, you’ll shoot images that will actually act like old-school film. It may mean that you need to use a flash, and that’s perfectly fine.
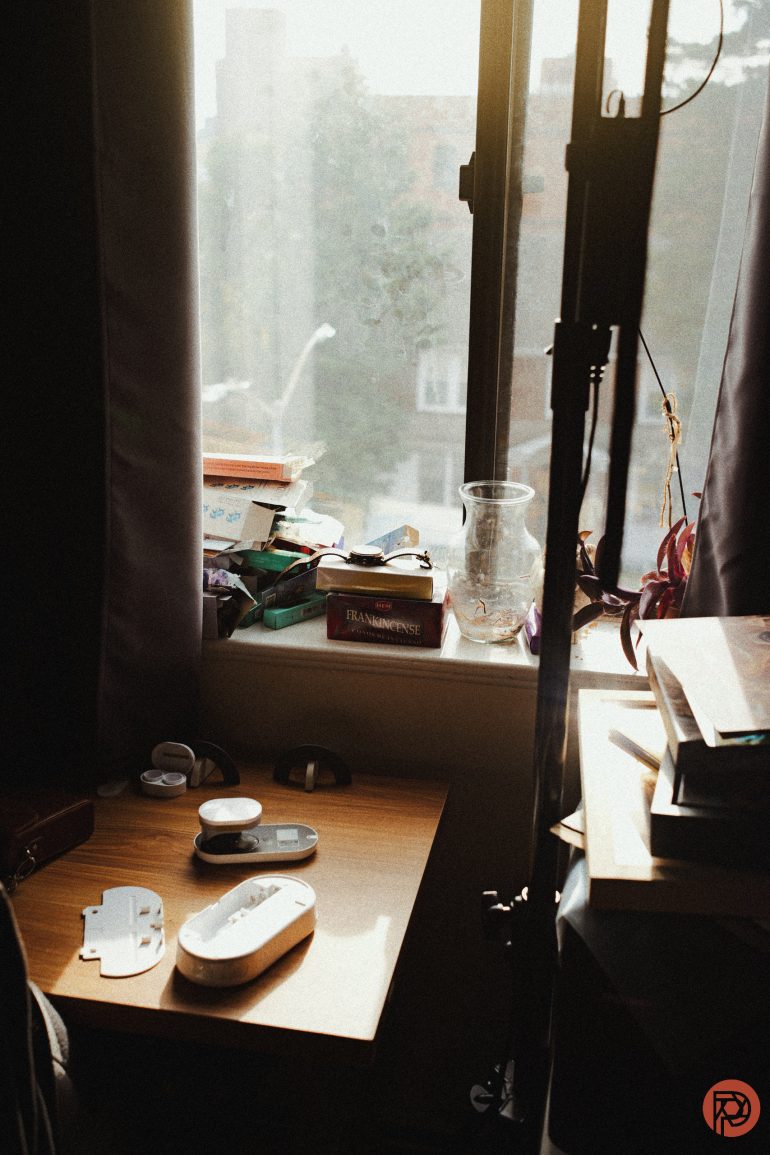
When I say that Ross got the tones, white balance, grain, and even the highlights perfect, I’m not kidding. Ross is pretty brilliant.


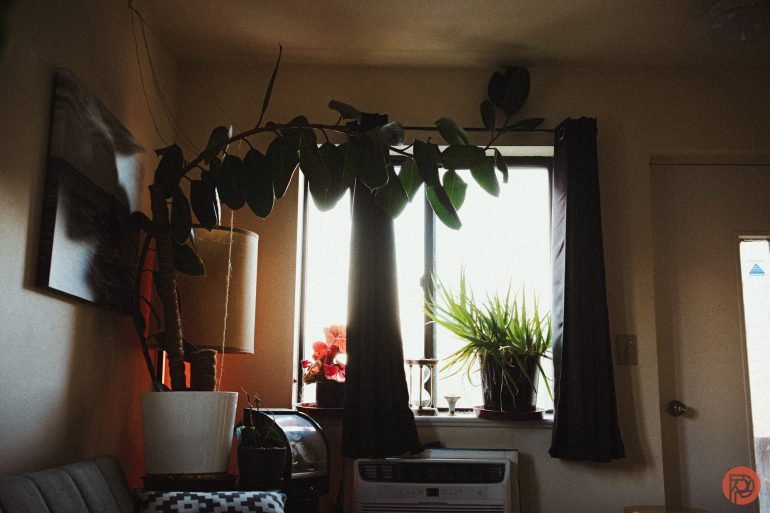

Granted, I want to say this: I don’t think that this will really replace film. When I shoot in digital, I often want to see the images right after because I’m so excited at how they look. But when I shoot film, I know that I won’t be able to see the images until after development so I’m often more present. If presence isn’t important to you and you’re smart enough to have moved over to the Panasonic system from the big three, then I recommend trying this out.
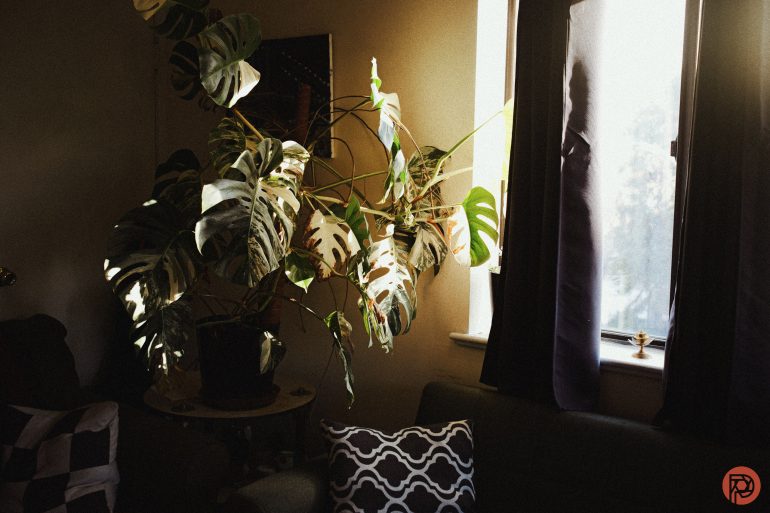
I tend to use this along with Thomas Fransson’s options. Thomas’s are loaded on my Canon cameras, but I rarely touch them these days. So I brought the same look to LUMIX and I’m pretty happy.